Ok, if I were allowed one last meal, it would be pizza. When I started this gluten-free, dairy-free, and soy-free journey in 2014, I was devastated that I could no longer have pizza. I worked really hard to heal my gut and begin to rebuild my good bacteria without one pizza. For the last few years, I decided to give cheese another try. I’m able to tolerate it, but only once a month, and I only used goat, buffalo, or sheep cheese. So, spending my monthly cheese allotment was definitely going to be on pizza.
Pizza Crust #1:
I’ve been on a gluten-free pizza crust mission for the past 4 years, and by George, I’ve got it. I have two recipes for you to choose from. One of them is not mine. I found it online in a book called “No Gluten, No Problem Pizza” by Kelli and Peter Bronski. If you’re gluten-free and still eating grains, this recipe is the one for you. Just delicious, and their recommendations for cooking and tools are the best. They really know their stuff. I even bought their book. I recommend you buy it as well (no, I don’t get any $ for sharing this)!
Pizza Crust #2:
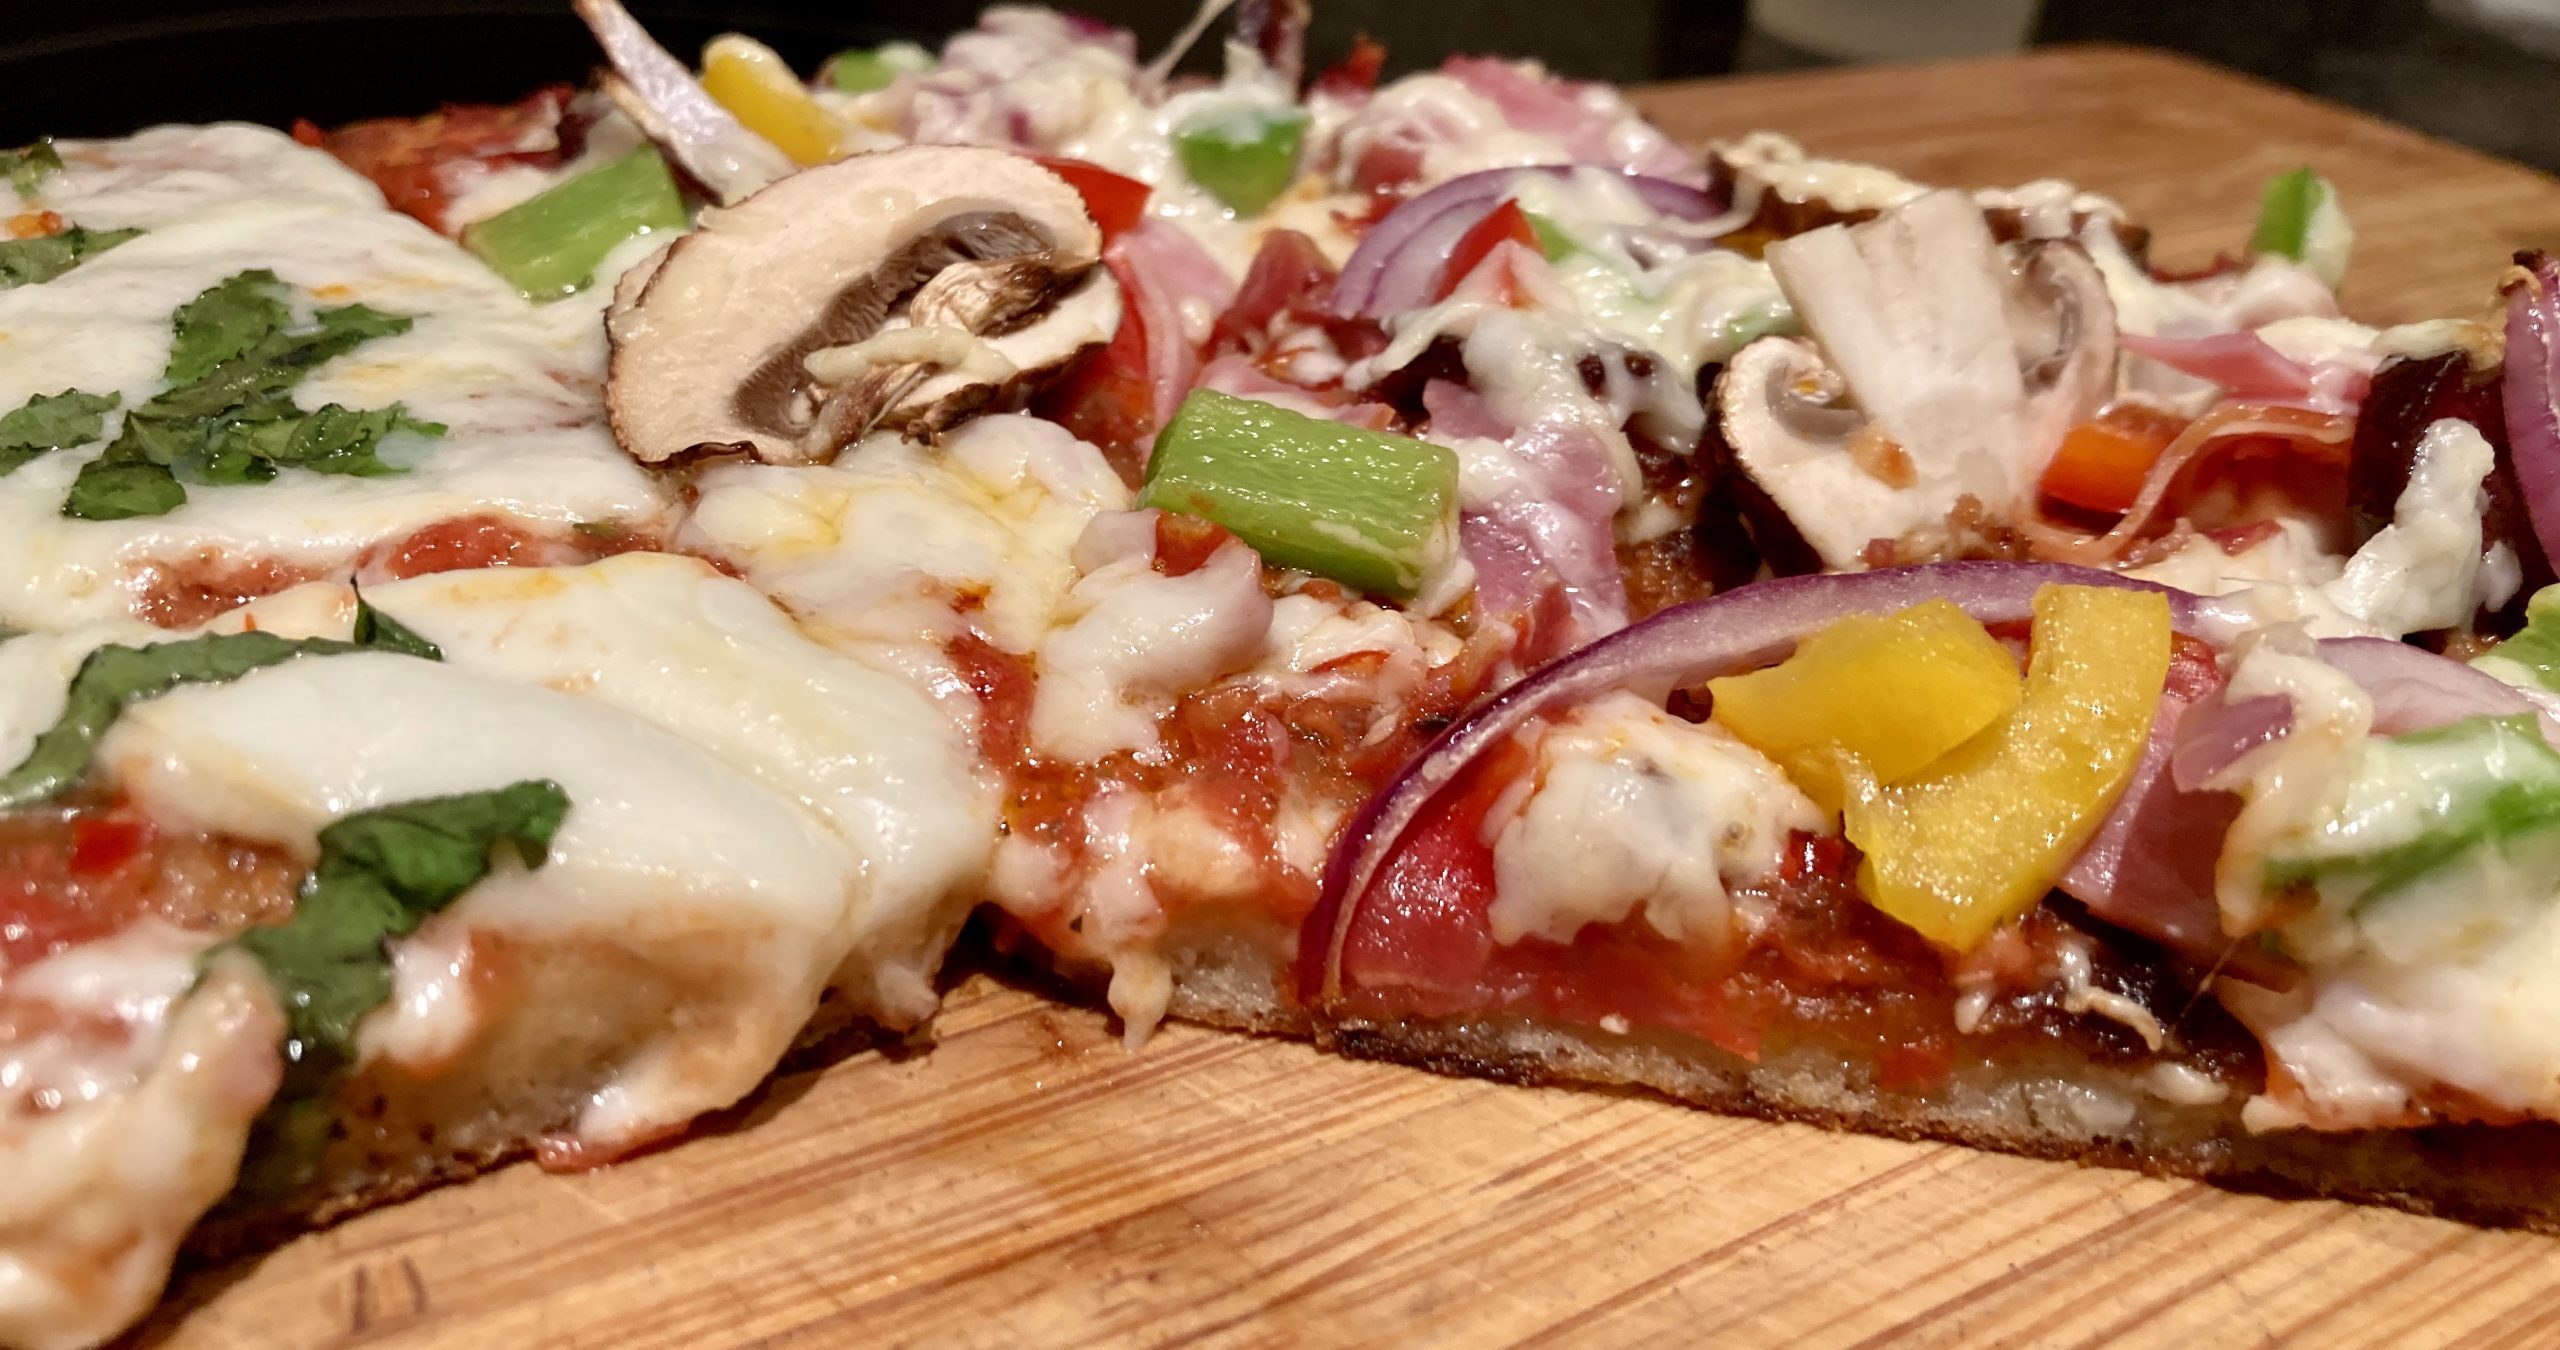
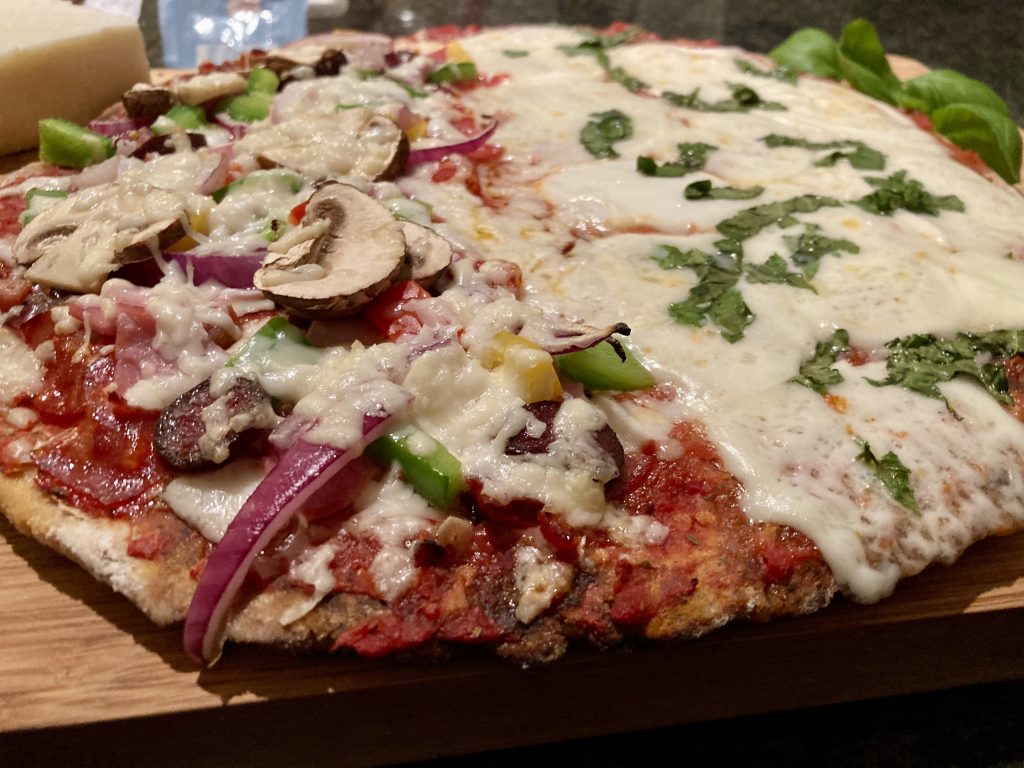
Here is my second recipe I use. It is a gluten-free and grain-free recipe and the one I use most often. It’s very similar to my Dinner or Hamburger Rolls recipe. The crust is so delicious and really gets crunchy when I use the pre-heated steel sheet metal in the oven as suggested by No Gluten, No Problem authors or on my grill using a VERY hot pre-heated pizza stone. Since the gluten-free dough is rather sticky and tricky to handle, the trick is to par-bake the crust. It makes it easier to slide onto your hot steel pizza sheet or stone for the final bake. This recipe makes one huge family-size pizza or two 12-13 inch pizzas. It really depends on how thick you like your pizza and how big your steel sheet and stone are. We like ours a little thin, so the thickness will vary the size of your pizza as well.
The crust is crunchy and soft yet chewy in the middle. I happen to have found buffalo mozzarella and sheep parmesan cheese (if you’re in Germany, try Edeka)! The sauce is easy and simple to make. I usually spend time cooking my own tomato sauce and then freezing it in serving size containers. Since reading my new pizza book, I decided to invent my own Quick & Easy No-cook Pizza Sauce. Take a peek and see for yourself how easy it is to make.
I hope you find one of my new discoveries for gluten-pizza crust as delicious as I have and give them both a try! Let me know which one is your favorite.
Best Pizza Crust
Ingredients
- Crust
- Dry Ingredients:
- 1 1/2 cup cassava flour
- 1/2 cup almond flour
- 1/2 cup potato FLOUR (not starch. If you don’t have it use an additional 1/2 cup almond or cassava flour)
- 1/4 cup arrowroot or potato starch
- 1/4 cup tapioca starch
- 2 1/2 tsp of active dry yeast
- 2 1/2 tsp baking powder
- 1 tsp Himalayan salt
- 1 tbsp phylum husk
- 1 tsp Italian seasoning
- 1/2 tsp onion powder
- 1/2 tsp garlic powder
- Wet Ingredients:
- 1 egg
- 1 Tbsp honey
- 1/2 cup melted ghee or olive oil
- 2 cups warm water (100 degrees)
- 1/4 cup dairy-free milk room temperature (almond, cashew, coconut, etc.)
Directions
- Step 1 Prep:
- Step 2 Turn stove to 75 F degrees or 50 C. Once the oven reaches that temperature, turn off the heat and leave on the light. You’ll need a warm oven to make the dough rise. This strategy works every time!
- Step 3 Dry Ingredients:
- Step 4 Place all the dry ingredients (yes, even the yeast) in a standing mixer on low and make sure you have the removable lid on. This stuff flies!
- Step 5 Turn the mixer on low and allow the dry ingredients to mix for 3-5 minutes.
- Step 6 Wet Ingredients:
- Step 7 Meanwhile, heat your water to 100 F degrees. Add the oil/ghee, honey, and 1/2 cup of room temperature dairy-free milk to the warm water.
- Step 8 Have your egg on hand!
- Step 9 Mix and Let Rise:
- Step 10 TIP: Make sure your oven is off, and the light is still on. Place the rack low enough that you are able to slide in your bowl of dough.
- Step 11 Slowly pour a third of the warm water mixture into the standing mixer with the dry ingredients. Mix for 1 minute, scraping down the sides.
- Step 12 Add the egg. Turn the mixer to medium. Mix for 2 minutes, scraping down the sides.
- Step 13 Add another third of the water mixture and beat well for 2 minutes, scraping down the sides.
- Step 14 Add the last of the water mixture slowly…you may not need it all. The dough should be pretty sticky yet pull together. Better less than more! I used all my water. Mix for 1 more minute.
- Step 15 Scoop out the dough into a buttered/oiled bowl and cover with plastic wrap.
- Step 16 Place this in the warm oven for 1 hour. While it’s rising, make my Quick & easy No-Cook Pizza Sauce!
- Step 17 Once it doubles in size, remove the bowl. Place your steel pizza sheet or stone in the oven and turn up the heat to 350 degrees to par-bake the crust.
- Step 18 Dump the dough on a large sheet of lightly oiled baking paper. Divide in 2 if making 2 separate pizzas. Shape one at a time.
- Step 19 Use a little oil on your hands and pat the dough out into a circle of 12-13 inches.
- Step 20 Lift the baking paper and the pizza crust onto your steel sheet or stone in the oven—Bake on the baking paper for 15 minutes. Remove and let cool while you form and create your second pizza crust with the remaining half of the dough. Bake it for 15 minutes. The dough will not be completely cooked.
- Step 21 Turn your oven or gas grill to the highest temperature, 500 F degrees or 250 C, with a steel sheet pan or stone inside, and don’t peek. It needs to get pipping hot.
- Step 22 Decorate your par-baked crusts with the Quick & Easy Pizza Sauce and then your choice of cheese. All other toppings go over the cheese! This is really a great trick. The cheese bubbles up and coats your toppings. Use a bit of cornmeal or dust of cassava flour on the steel sheet or stone. Place the crust directly on the hot steel sheet pan or stone. Cook for 8-15 minutes, depending on how thick the crust is. You can also freeze the naked crusts and use them later. Just remove them from the freezer and let them come to room temperature about 2-3 hours before you put on your sauce and toppings. Then follow the baking instructions above.


 I'm Melinda Stevens and living the life of a beach bum was inevitable since my father was a lifeguard for the city of Los Angeles. My memories of growing up on John Street in Manhattan Beach, California were filled with joy, excitement and adventures; until my world, as I knew it, fell apart when we moved to Del Mar, California. My father was offered the position as Captain of the lifeguards and we started the slow migration to the small deserted stretch of beach in 1963. At twelve years old, this seemed like the end of my life. Remember, I’m writing with clear hindsight now, ok somewhat clearer… Little did I know this would be the beginning of a new journey and give a bit more clarity to many of the events that led me to this new cooking adventure.