
This site is amazing. Jules (gfjules.com) has a recipe and knowledge for gluten-free cooking, which makes a world of difference in texture and delicious end products. I live in Germany and can’t order her flour, but if you are in the USA, I suggest you order it! This recipe is no fail; my starter is growing like a weed. Here is her basic recipe and what you will need. I suggest you go to her site and read the complete recipe with tips; every question you have is answered. Good Luck!
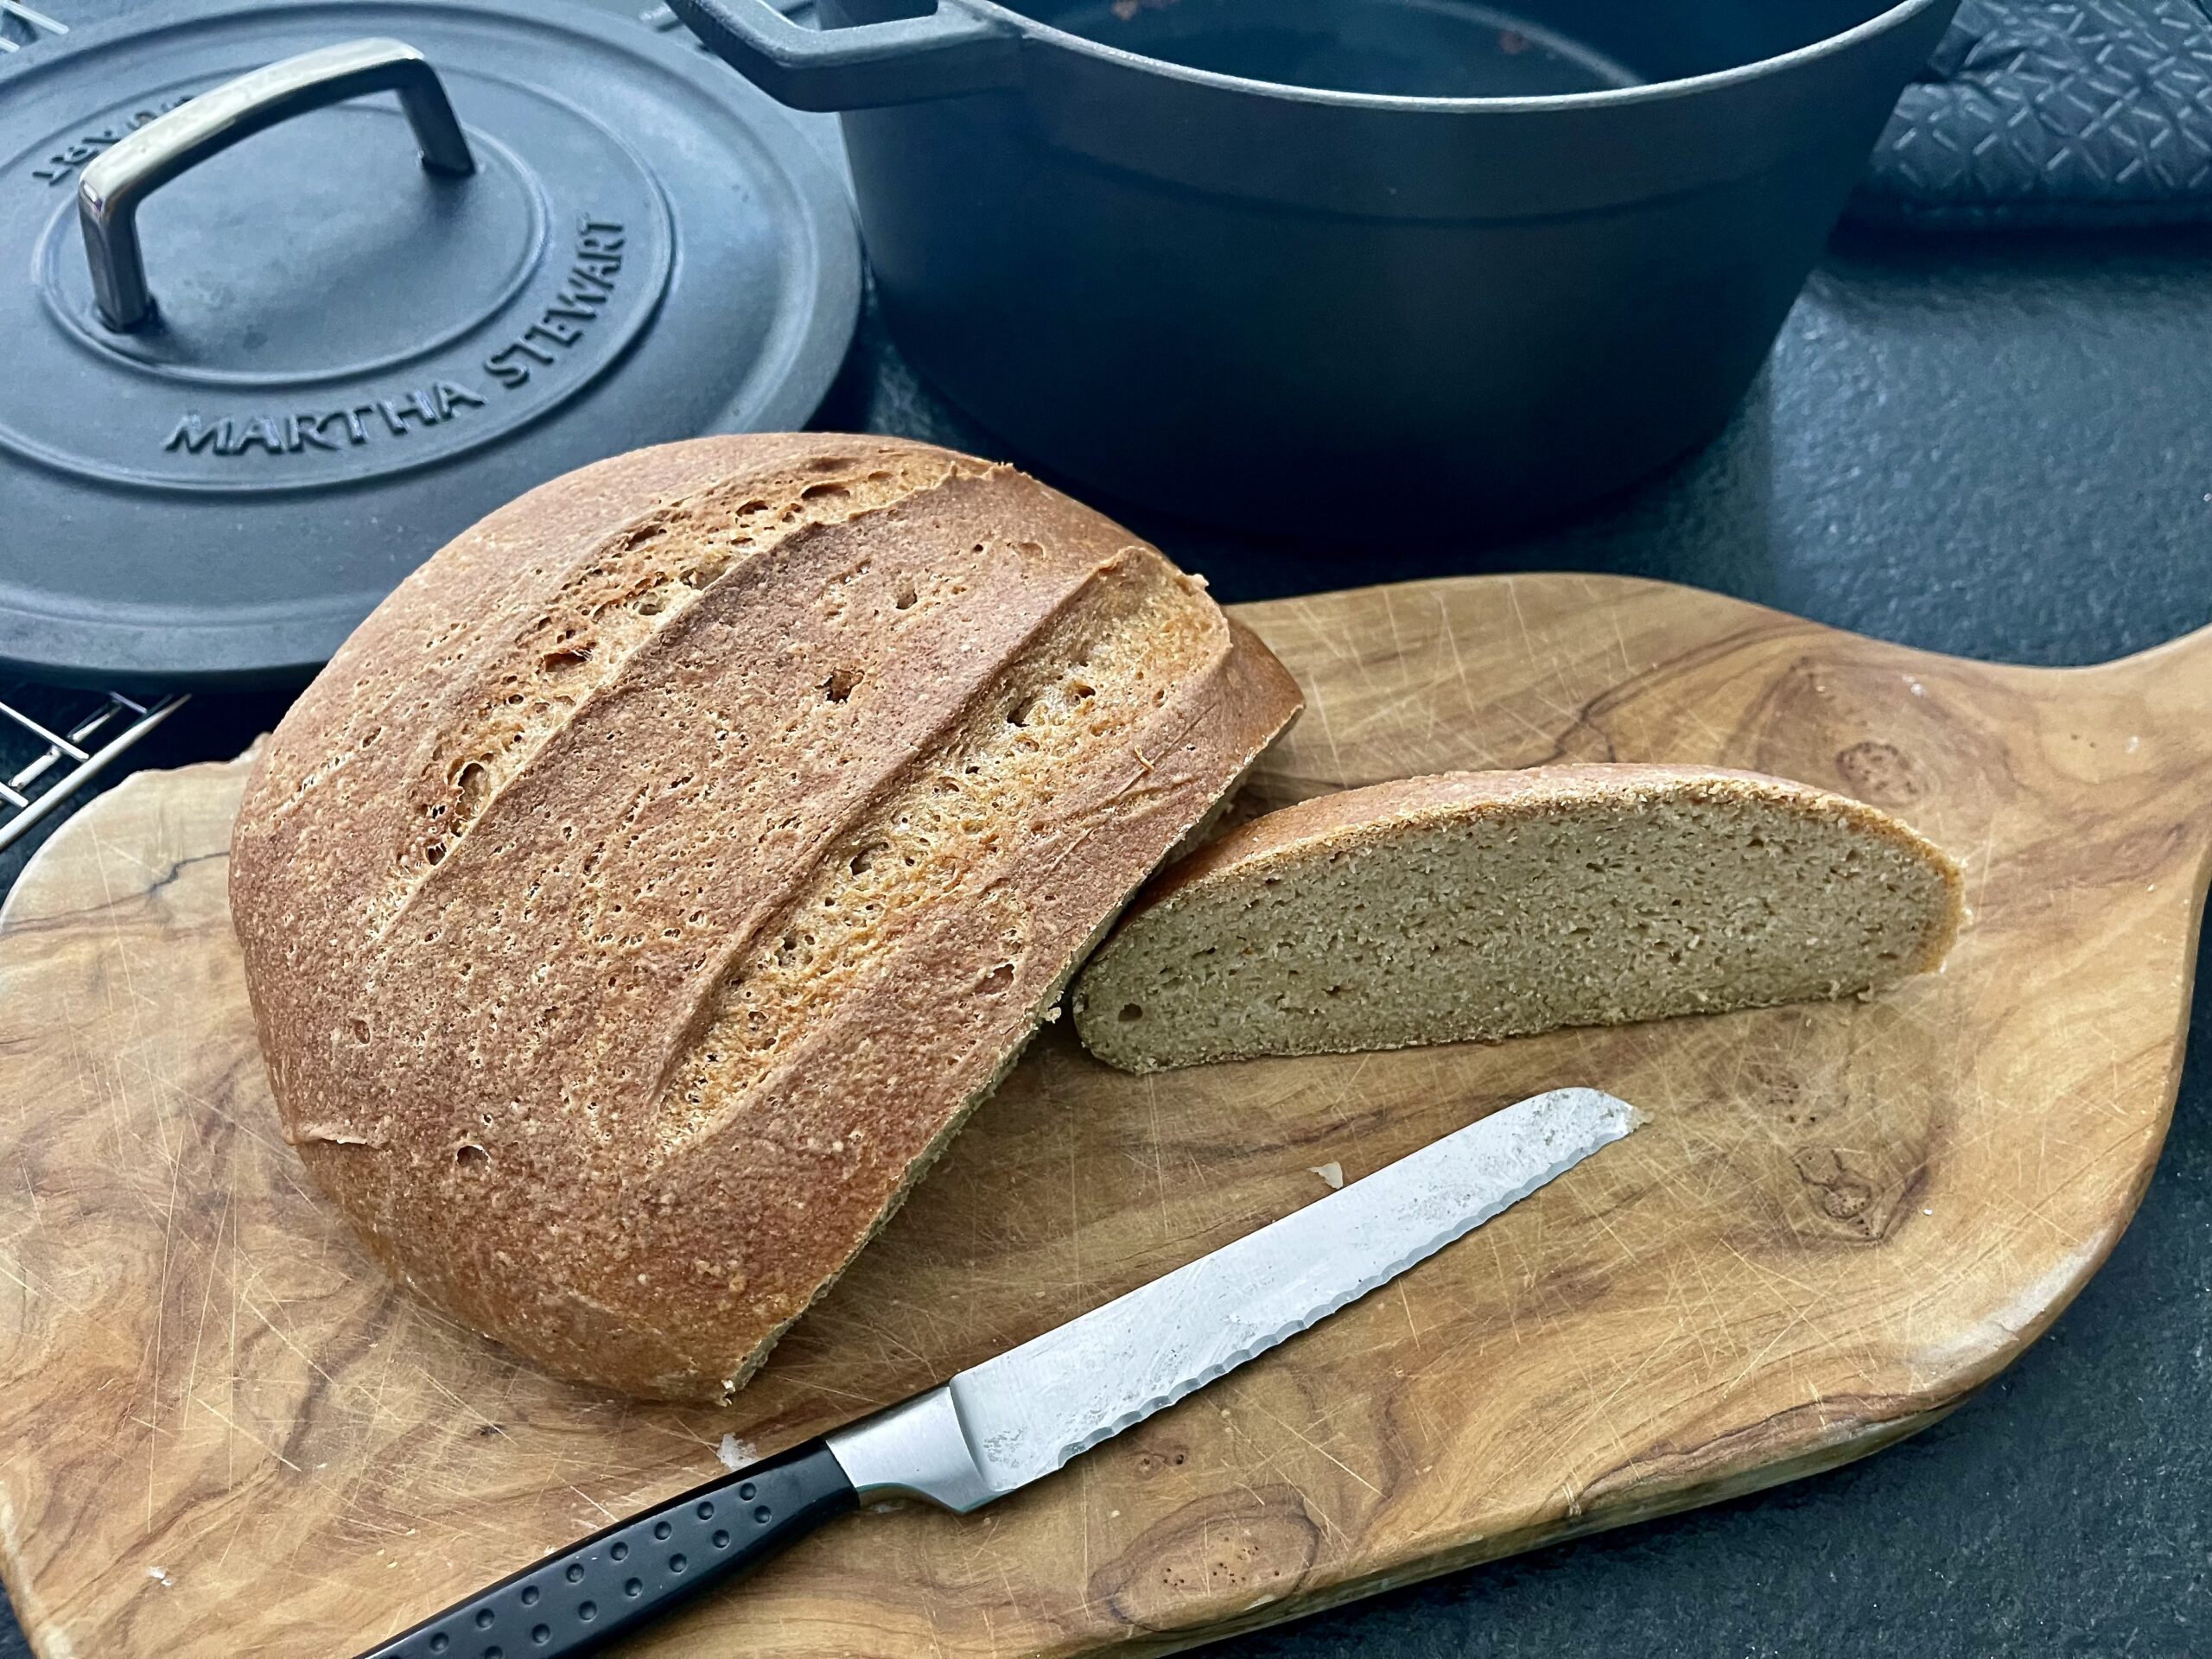
Here is a picture of my sourdough results using Jules’s recipe for the starter and for the bread!
Ingredients
- 1/2 cup sifted gfJules Corn-Free Multigrain Biscuit & Breakfast Baking Flour (70 grams) OR gfJules Gluten Free All Purpose Flour (67 grams) OR 1/4 cup gfJules Flour PLUS 1/4 cup ONE of: sorghum flour; buckwheat flour; teff flour; quinoa flour, millet flour, brown rice flour
- 1/2 cup filtered water – room temperature
- 1/2 Tablespoon apple cider vinegar (with “the mother” – shake the bottle)
- either 1/2 teaspoon gluten-free dry yeast* OR 1 Tablespoon yogurt (dairy-free works fine)
Instructions
- To make the gluten-free sourdough starter, add starter ingredients to a non-reactive bowl or container made of glass, stainless steel or food-grade plastic.
- Whisk together until no lumps are present, and all the flour is incorporated, then set aside with a loose cloth covering the top. The room should be at least 70F, or place it in a warmer location like near your oven or in a warmer room or use Sourhouse Goldie.
- Allow the starter to sit, loosely covered, for 24 hours then discard half of the starter. Add to the remainder of the starter another 1/2 cup (70 grams) gfJules Multigrain Flour (or 1/4 cup gfJules All Purpose Flour plus 1/4 cup alternate GF flour listed above) and 1/2 cup cool filtered water (if your kitchen is particularly warm) or lukewarm filtered water (if your kitchen is particularly cold).
- Re-cover and allow the mixture to rest for 24 hours.
- At this point, the starter should show signs of activity, but if not, don’t despair, and don’t throw it out! Repeat the halving and discarding and replenishing step every 12 hours (or as your schedule allows) until the starter begins to bubble and rise (becomes active).
- If it does not seem active after 2 days of this feeding cycle, try one or more of these things: stir in another 1/2 tablespoon apple cider vinegar; switch to 100% of whole grain gluten-free flours listed above; stir in 1 Tablespoon honey; or try moving it to a warmer location. *Also, be sure your starter is not too thick. It should be the consistency of pancake batter, not dough.* Add more filtered water if necessary — if the starter is too thick, it cannot bubble and grow.
- Once it seems to have come alive, continue feeding the starter 2 times a day in the same way (discard + add flour and water). You can place some of the more active discards in a separate container if you’re like me and can’t bear to throw it away each time! Then you’ll have simultaneous starters going. The discard process gives the yeast proportionately more food to digest each time it’s fed, so it’s a necessary part of the process.
- Continue this process for 7 days OR until the starter doubles in volume or looks very bubbly and active within 6 hours after feeding. At that point, feed one more time, then allow to rest for 6 -12 hours before using. If not using for a recipe right away, or after using some in a recipe, with the remaining starter, transfer to another container that can be covered and placed in the refrigerator until ready to use. If the container has a lid, DO NOT tighten it completely. Feed the starter once a week if stored in the refrigerator.
 I'm Melinda Stevens and living the life of a beach bum was inevitable since my father was a lifeguard for the city of Los Angeles. My memories of growing up on John Street in Manhattan Beach, California were filled with joy, excitement and adventures; until my world, as I knew it, fell apart when we moved to Del Mar, California. My father was offered the position as Captain of the lifeguards and we started the slow migration to the small deserted stretch of beach in 1963. At twelve years old, this seemed like the end of my life. Remember, I’m writing with clear hindsight now, ok somewhat clearer… Little did I know this would be the beginning of a new journey and give a bit more clarity to many of the events that led me to this new cooking adventure.
1 thought on “Gluten-free Soughdough Starter”